Our Blogs | Macarthur Fitness Equipment
🚚 FREE SHIPPING - SYDNEY ORDERS OVER $99 🚚
0 Cart
Added to Cart
    You have items in your cart
    You have 1 item in your cart
      Total

      Gym Equipment Buying Guides

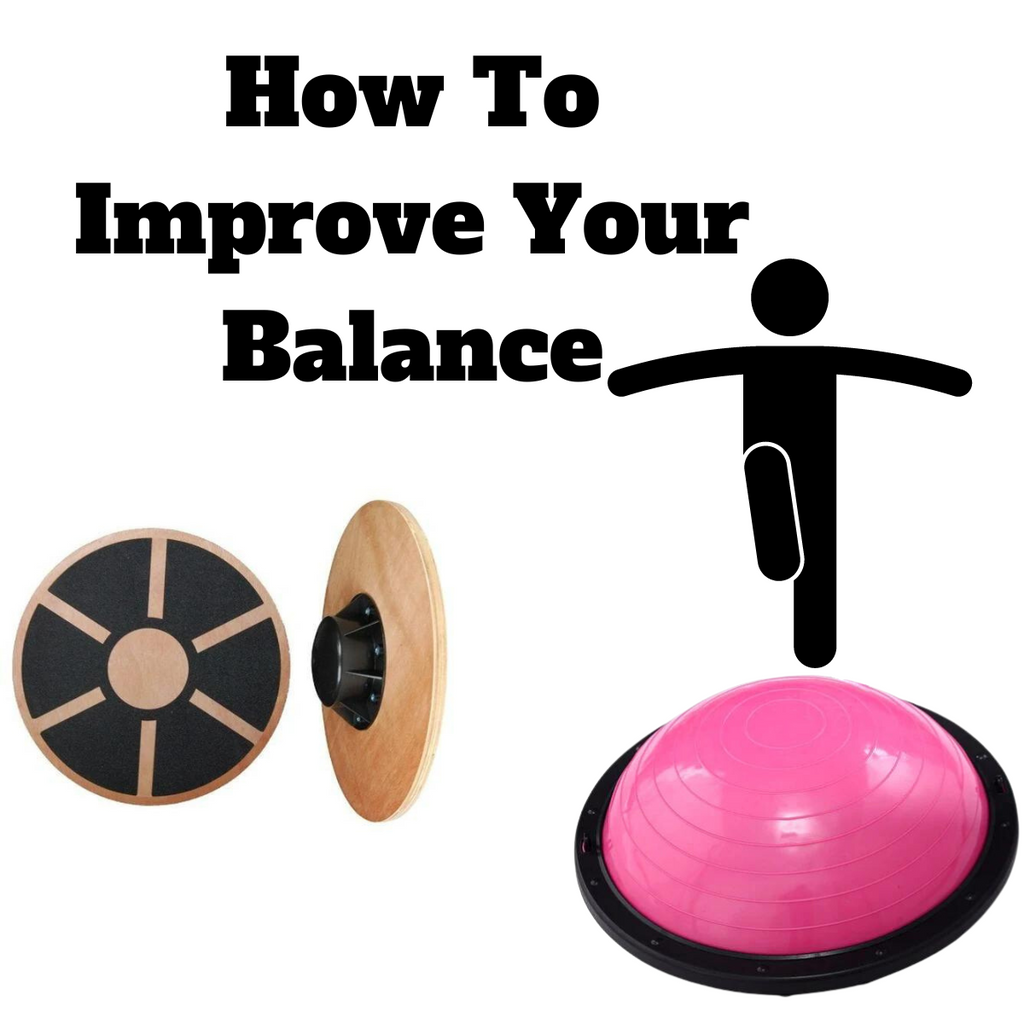
      How To Improve Your Balance

      How To Improve Your Balance

      Balance plays a crucial role in your workouts, such as 

      1. Injury Prevention: Improved balance helps prevent injuries by enhancing stability and coordination. It enables your body to adjust and react to sudden movements or uneven surfaces, reducing the risk of falls or twists.

      2. Functional Movement: Balance is fundamental for daily activities. Improving balance in workouts translates to better performance in everyday tasks, such as walking, climbing stairs, or carrying objects, as it strengthens the stabilizing muscles.

      3. Core Strength: Many balance exercises engage the core muscles. A strong core is essential for maintaining posture, stability, and overall strength during various workouts.

      4. Improved Performance: Better balance can enhance athletic performance. It allows for more precise movements, agility, and control, which are beneficial in sports or activities that require quick changes in direction or speed.

      5. Muscle Engagement: Balance exercises often require using multiple muscle groups simultaneously. This engagement leads to better muscle coordination and overall strength development.

      6. Mind-Body Connection: Balance exercises often demand focus and concentration. They help improve the mind-body connection, promoting mental concentration and mindfulness during workouts.

      7. Reduced Stress on Joints: Good balance distributes weight evenly across the body, reducing the stress placed on joints during exercises and movements.

      8. Enhanced Proprioception: Proprioception, the body's awareness of its position in space, is improved with balance exercises. This heightened sense of awareness helps prevent accidents and improves overall body control.

      9. Overall Fitness: Including balance work in your routine contributes to a well-rounded fitness regimen. It complements strength training, cardiovascular workouts, and flexibility exercises for a more comprehensive approach to fitness.

      Incorporating balance-focused exercises not only improves your physical performance but also contributes to overall health and well-being by enhancing stability, coordination, and injury prevention.

      Here are some helpful tips to help you enhance your balance:

      1. Balance Exercises: Incorporate exercises that challenge balance, like single-leg stands, single-leg deadlifts, and balance board exercises. Start with holding onto a stable surface and progress to doing them without support as your balance improves.

      2. Bosu Ball/ Balance Dome: A Balance Dome can be a versatile tool. Using it for squats, lunges, or even simple standing balance exercises can engage your core and stabilizing muscles.

      3. Resistance Bands: Utilize resistance bands for exercises like lateral leg raises, standing leg curls, or overhead presses. They add resistance, forcing your body to stabilize while performing movements.

      4. Yoga and Pilates: These disciplines heavily focus on balance, stability, and core strength. Integrating yoga poses like tree pose or Pilates exercises can significantly improve your balance.

      5. Balance Boards: Standing on balance boards challenges stability and enhances balance. They can be used for exercises like squats or simple standing balance drills.

      6. Strength Training: Strengthening leg muscles through exercises like calf raises, squats, and lunges can indirectly improve balance by providing a stable foundation.

      7. Tai Chi or Martial Arts: Consider learning Tai Chi or practicing martial arts movements. These disciplines emphasize fluid movements and balance control.

      8. Stability/Exercise Ball: Use a stability ball for exercises like ball squats, ball bridges, or simply sitting on it to engage your core muscles for balance.

      9. Proprioception Exercises: Incorporate exercises that challenge your proprioception, like closing your eyes while standing on one leg or doing activities on an unstable surface.

      10. Consistency and Progression: Consistent practice is key. Start with easier exercises and gradually progress to more challenging ones as your balance improves.

      Remember, balance improvement takes time and patience. It's essential to focus on proper form and technique while performing these exercises to prevent injury and maximize the benefits.

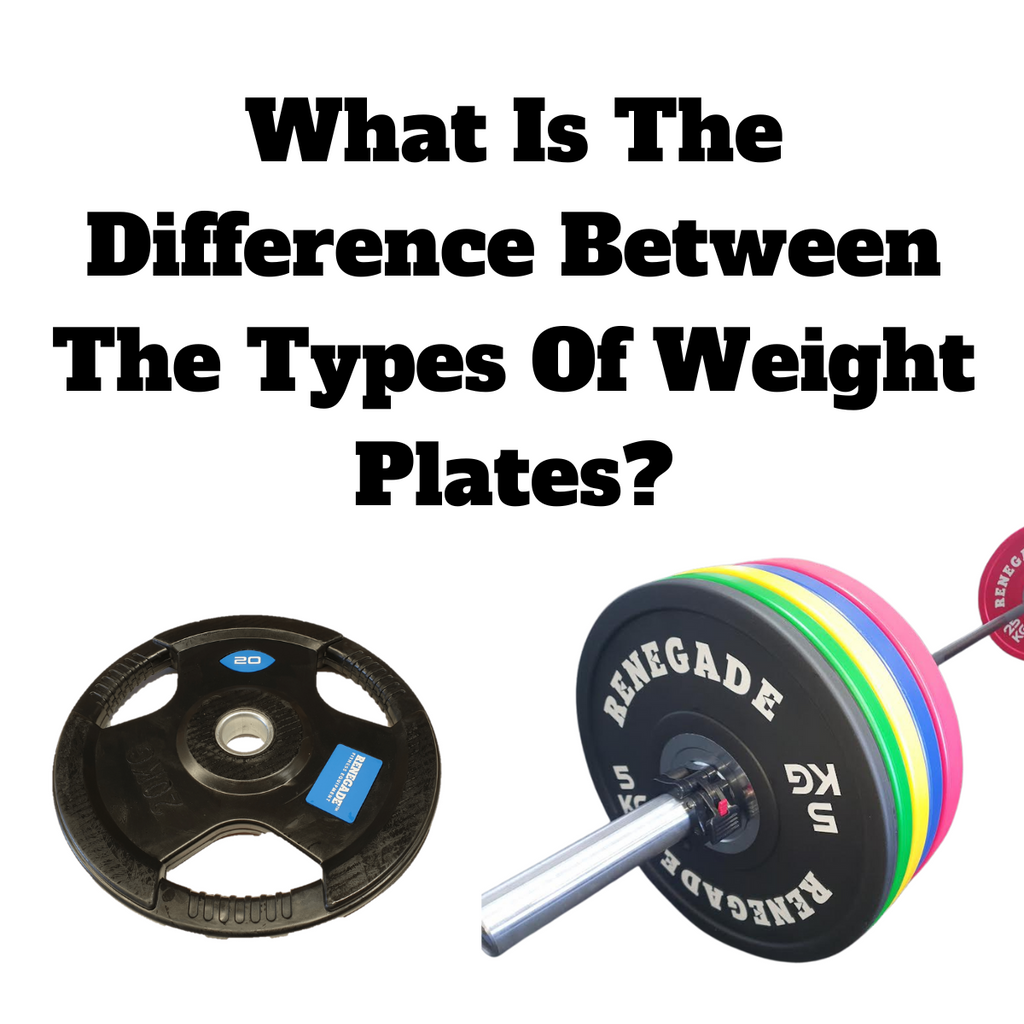
      What Is The Difference Between The Types Of Weight Plates?

      What Is The Difference Between The Types Of Weight Plates?

      When looking at what weight plates to get for your gym it is important to understand the differences between them. One of the major distinctions between weight plates is the sizing, of which there is Standard and Olympic Sizes. Another key distinction is whether the plate is rubber coated or a bumper plate. Here I will run through what these distinctions mean and how they can influence your choice of plate for your setup. 

      What does Plate Size Mean?

      A standard size weight plate refers to the size of the hole that the bar sits in. For standard sized plates the diameter of the hole can range from 25-30mm, Meaning it is important to check the size of the plate that you are looking at to ensure it will fit your existing equipment. A good example of a standard sized plate is our Renegade 50kg Adjustable Barbell & Dumbbell Set which have a diameter of approx. 26mm.

      An Olympic size weight plate has an internal hole diameter of 50mm, across most Olympic sized plates there will not be any discrepancy in the sizing, making them a more universal plate. A lot of equipment these days is made with Olympic sized plates in mind, for example if you are looking at the Force USA G Series, while there are some exceptions these machines are best suited to Olympic sized plates. 

      What Is The Point Of Bumper Plates?

      Outside of the size of the internal hole another key difference you will find in weight plates is if they are bumper plates. Bumper plates are best described as plates that can be dropped, making them ideal for exercises where you might be dropping the bar from a height. Alternatively there are iron and rubber coated plates, the major benefit of the rubber coated option is that they are considerably quieter than their iron counterparts. As well as being more resistant to rusting as there is not any exposed metal. 

      Bumper plates can come in many variations that can change how they are used and the amount of plates that can be used. Such as the Renegade trainer bumper plates, which are made using a high density rubber. This plate offers a great Bumper plate functionality, capable of handling being dropped consistently, however due to them being made from a high density rubber they are quite large. With the 25kg Plate having a width of 120mm, meaning on a typical Olympic 20kg barbell you can only fit 3 plates on either end of the bar with collars. 

      Alternatively the Renegade Pro Grade Bumper Plate offer even better bumper plate functionality while maintaining a much slimmer design. With the 25kg plate having a width of 50mm, this means on your typical Olympic 20kg barbell you could fit 7 plates on either end of the bar with collars. While most people may not be using 25kg plates, the Renegade Trainer Bumper even in smaller sizes is noticeably larger than the pro grade or rubber coated plate options. This means that if you want to train heavier, the trainer bumper plate may not be the best option for you. 

      When should you use bumper plates?

      Bumper plates are best used in exercises that are not performed within the confines of a rack. If you plan to only work on a smith machine, a power rack, or bench press then you are more than able to achieve great results using non bumper plates such as the renegade rubber coated weight plates. As Renegade rubber coated weight plates are considerably cheaper than bumper plates, if you never intend to work outside your rack then they can definitely be a more cost effective option. Since rubber coated plates are not intended for dropping they are more likely to break when dropped, especially repeatedly, which is why they are better suited to work where the plates will not make contact with the ground. 

      For when you intend to do exercises that take you away from a rack, such as with deadlifting, standing shoulder press and many other standing barbell work where you cannot operate within a rack. Bumper plates offer the piece of mind that if/when you drop the bar the plates will be more than capable of handling it. The Renegade Pro Grade Plates also offer an attractive colour coded weight system that is universal, that can make Your gym setup stand out against the rest. When looking at bumper plates it is also important to consider the bar you will use, as with weight plates there are bars that can be dropped and bars that are not made for dropping. For a barbell that works best with bumper plates we recommend the Renegade 2000lb barbell, if you are not looking into bumper plates than a cheaper option is the Renegade 700lb Barbell. 

      What Is the Difference Between The Force USA G Series All-In-One Trainers?

      What Is the Difference Between The Force USA G Series All-In-One Trainers?

      There are several variations of the Force USA G Series All-In-One Trainers, Each with their own unique features. Across the board the G series machines include a Chin up, Core trainer, Front rack, Cabling system and Smith machine (with the exception of the G1). Force USA has also released an app, which includes a list of exercises that can be done with your machine as well as a tailored workout plan that makes the most of your machine. From the G1 to the G20 Pro we will run you through the key details and differences between each model. 

      One of the key differences in the range is the weight stack or plate loaded design, The G6, G12, G15, And G20 Pro are all weight stack pin loaded machines. Whereas the G1, G3, G9, and G10 are plate loaded. One of the major advantage to pin loaded weight stacks is that they are significantly easier to change to weight and less clutter. Plate Loaded machines require more weight plates to be able to use every aspect of the Machine, taking up more space and Requiring the need to load an unload plates in order to change the weight between exercises. 

      Another Key difference is Cable Ratio, there Are 3 Variations of Cable Ratio within the range, including 1:1, 2:1, and 4:1. A Brief Outline of the cable ratios is as follows:

      • 1:1 ratio Means that the pinned weight is equal to the weight on the pull. So if you pin the weight at 40lb, you will have 40lb on the pull. The biggest disadvantage to a 1:1 Ratio is that the cable length is shorter than on a 2:1 or 4:1. another potential disadvantage is that a 1:1 Ratio Results in a higher jump in weight for every pin equaling another 10lb's. This makes a 1:1 Ratio ideal for exercises that target bigger muscle groups, such as Lat-Pulldowns and Low rows. 
      • 2:1 Ratio means that the pinned weight Is halved on the pull, So If you pin the weight at 40lb, you will have 20lb on the pull. The biggest disadvantage to a 2:1 Ratio is that you have less weight to work with for those exercises that tend to hit higher weights. A Major advantage to the 2:1 Ratio is that you have a slightly longer cable length than on a 1:1 system making it Ideal for bigger rotating movements such as Cable Fly. The 2:1 Ratio also means that the jump in weight is much smaller than the 1:1 Ratio, with each pin equaling another 5lb's. This makes it  much easier to progressive overload and to slowly improve your max weight in a wide range of exercises.
      • 4:1 Ratio Means that the Pinned weight is quartered on the pull, so if you pin the weight at 40lb, you will have 10lb on the pull. The biggest disadvantage to a 4:1 Ratio is that you have less weight to work with when compared to a 1:1 or 2:1 ratio. The biggest Advantage to a 4:1 Ratio is a significantly longer cable length allowing for a wide range of exercise options. As well as smaller increments in weight for every pin being equal to another 2.5lb on the pull. This Makes a 4:1 ratio great for big rotating movements and ideal for people who struggle to increase weight over time. 

      A Unique addition to a few options in the range includes a counterbalanced smith machine. This gives you a weightless bar giving you a 0kg starting point, which is great for beginners needing to practice the movement without any weight. It also mean that whatever weight you put onto the bar is the exact weight that you are working with. 

      The Force USA G1 is a plate loaded machine that operates at a 2:1 Ratio, using a single weight station. The G1 also does not include a smith machine meaning it has less functionality when compared to the rest of the range. the G1 is a good option if you are after something to get all of your basic cabling exercises along with a front rack in a nice compact unit.

      The Force USA G3 is a plate loaded machine that operates at a 2:1 Ratio using a Dual weight station. The G3 Includes a Smith machine, and a leg press attachment can be purchased as an after market option. The G3 offers all of the basic functionality of the all-in-one trainer and can be a good option if you have a lot of weight plates or are needing a cheaper alternative. 

      The force USA G6 is a pin loaded weight stack machine, operating at a 2:1 ratio using dual 100kg weight stack's. With the 2:1 ratio it will give a maximum of 50kg on either side. The G6 is the original All-In-One trainer Offering everything you need to satisfy your workout routine.

      The force USA G12 Is a pin loaded weight stack machine, operating at a 1:1 ratio using dual 90kg weight stacks. With the 1:1 ratio it will give a maximum of 90kg on either side, The G12 also offers a counterbalanced smith machine. The G12 is the only pure 1:1 ratio machine in the G series range, making it good for anyone who isn't concerned with needing to work with smaller increments. 

      The Force USA G15 is a pin loaded weight stack machine, Operating a dual pulley system with a 4:1 and 2:1 ratio using dual 130kg weight stacks. With the 4:1 ratio it will give a maximum of 32.5kg on either side, and with the 2:1 it will give a maximum of 65kg on either side. The G15 also has an optional Upgrade Kit which includes storage shelves, leg press plate, core trainer, TV bracket, jammer arms and a couple extra cable attachments. The G15 is a Definite upgrade on the G6 with more weight too work with, while still offering a lot of great functionality and is something anyone could get on and use no matter their level of strength.

      The Force USA G20 Pro is a pin loaded weight stack machine, operating at a 2:1 ratio using dual 130kg weight stacks. With the 2:1 Ratio it will give a maximum of 65kg on either side. The G20 Pro also has the option to include a Lat Row Station Upgrade, which operates at a 1:1 Ratio using 130kg weight stack, giving a massive 130kg on the pull. 

      After Market Options:

      The G15 Upgrade Kit offers a full selection of extras that will help complete your All-In-One Trainer, and is definitely recommended to get the best use out of your machine.

      There is an option to add a set of jammer arms to your machine for the G6, G12, G15 as part of the Upgrade kit and G20 pro as part of the G20 Upgrade kit.

      There is an option to get a dedicated Lat pulldown seat for the G1, G3, G6, G9, G12, G10, G15 and G20 pro.

      How to deal with back pain when approaching your workouts

      How to deal with back pain when approaching your workouts

      Addressing back pain through a home gym requires a careful approach to exercise selection, form, and overall training strategy. Here are some tips to help target back pain using a home gym:

      1. Consult a Professional: Before starting any new exercise program, especially if you have existing back pain, consult with a healthcare professional or a physical therapist. They can provide personalized advice based on your specific condition.

      2. Core Strengthening: Strengthening your core muscles can provide stability and support to your spine, potentially alleviating back pain. Include exercises like planks, bird-dogs, and core-specific movements in your routine.

      3. Proper Warm-Up: Warm up adequately before each workout. This can include light cardio, dynamic stretching, and mobility exercises to prepare your muscles and joints for the upcoming activity.

      4. Focus on Posture: Maintain proper form during exercises to prevent additional stress on your back. Pay attention to your posture, whether you're lifting weights or performing bodyweight exercises.

      5. Incorporate Low-Impact Cardio: Include low-impact cardiovascular exercises like walking, cycling, or swimming. These activities can improve overall fitness without placing excessive strain on the back.

      6. Use Adjustable Equipment: Invest in adjustable equipment for your home gym, such as an adjustable bench, so you can modify exercises to suit your comfort and needs.

      7. Include Bodyweight Exercises: Bodyweight exercises can be effective for targeting various muscle groups without the need for heavy equipment. Examples include bodyweight squats, lunges, and push-ups.

      8. Focus on Flexibility: Include flexibility exercises and stretching in your routine. Yoga and Pilates, for example, can improve flexibility and promote better posture, potentially reducing back pain.

      9. Gradual Progression: Progress slowly in terms of weight and intensity. Avoid the temptation to lift heavy weights or perform high-intensity exercises too soon, as this can exacerbate back issues.

      10. Listen to Your Body: Pay attention to how your body responds to different exercises. If you experience pain (other than normal muscle fatigue), modify or skip the exercise and consult a healthcare professional.

      11. Include Back-Friendly Exercises: Incorporate exercises that specifically target the muscles in your back, such as rows, lat pulldowns, and back extensions. Ensure proper form and start with lighter weights.

      12. Hydration and Nutrition: Stay hydrated and maintain a balanced diet to support overall health and recovery. Proper nutrition can contribute to the healing process and overall well-being.

      13. Regular Breaks: If you spend extended periods sitting at a desk or in front of a computer, take regular breaks to stand, stretch, and move around. Sedentary behavior can contribute to back pain.

      Always remember that individual responses to exercises can vary, and it's crucial to tailor your workout routine to your specific needs and limitations. If your back pain persists or worsens, consult with a healthcare professional for further evaluation and guidance.

      What Do Cable Ratios Mean?

      What Do Cable Ratios Mean?

      Cable Ratios on Gym Equipment:

      Cable ratios on gym equipment describe the relationship between the weight selected on the stack and the actual resistance experienced by the user. These ratios are expressed as numerical values, such as 1:1, 2:1, 3:1, and 4:1 indicating the effect on the resistance relative to the selected weight. Cable Ratios also have an effect on the length of the cable making certain ratios better suited to certain exercises.

      • 1:1 Cable Ratio: In a 1:1 ratio system, the resistance matches the selected weight. If you set the weight stack to 30 kilograms, the user experiences 30 kilograms of resistance directly. In a 1:1 ratio system the cable length is equal to the height that the weight stack is lifted, making it ideal for isolated movements like Lat pulldowns, but less suitable to bigger rotating movements. 
      • 2:1 Cable Ratio: In a 2:1 ratio system, for every 2 or kilograms selected on the weight stack, the user experiences 1 kilogram of resistance. If you set the weight stack to 40 kilograms, the actual resistance felt is 20 kilograms. In a 2:1 ratio system the cable length is double the height that the weight stack is lifted, giving you extra cable length for bigger movements.
      • 3:1 Cable Ratio: A 3:1 ratio means that for every 3 kilograms selected on the weight stack, the user experiences 1 kilogram of resistance. If you set the weight stack to 30 kilograms, the actual resistance would be 10 kilogramsIn a 3:1 ratio system the cable length is triple the height that the weight stack is lifted, giving you extra cable length. 
      • 4:1 Cable Ratio: In a 4:1 ratio system, for every 4 kilograms selected on the weight stack, the user experiences 1 kilogram of resistance. If you set the weight stack to 40 kilograms, the actual resistance felt by the user would be 10 kilograms. In a 4:1 ratio system the cable length is four times the height that the weight stack is lifted, giving you extra cable length.

      In the case of 3:1 an 4:1 ratios, because the weight stack is moving less and therefore moving slower, the cable can be pulled faster than on a 1:1 or 2:1 ratio. Making them better for faster movements as well as larger movements. 

      Understanding cable ratios is crucial for tailoring workouts to individual strength levels and ensuring consistency when transitioning between different gym machines. Always refer to the equipment specifications or user manual to determine the cable ratio and adjust the weight accordingly for an effective and precise workout.